Sunday, 28 September 2014

DIY Minions Halloween Party

Halloween stuff are out in toy stores and this year I'm hoping for a little less stress.  It has quickly become a holiday where  unless your child has two costumes, goes to at least three trick or treats, and gets as much candy as the next child, you have mama-FOMO*. (google it)

Last year my husband, who volunteers as a director in our subdivision, volunteered me to stage our village Halloween festivities.  Good God.  I may like kid's activities, but I actually don't like children's parties.  Nowadays the planning standards are wedding-level!  Totally intimidating to DIY.

With three weeks to go and not a lot of budget, we came up with some super-easy activities around the theme of Minions.  The party had some disaster areas as you'll see below, but the kids had fun.


#1 Turn a (well-lit) corner into a costume photo booth.

The clubhouse is huge but only half-built
Find a wooden frame.  I had one from a cheapo artwork that didn't survive a roof leak. 
Also find a willing helper:


Enlist willing helper to paint the entire thing yellow.  
This is just some poster paint sprinkled with gold glitter (purely for fun):


Find and print some minion goggles on the office laser printer.  Hush.  You do it too, admit it.
Have willing helper paint the top beam black.

Accept there will be mistakes and it's fine.  No one but you will notice.
There's even some red glitter in that yellow paint because she thought it would be fun.

Hang it up with some white shower curtains and you've got a photo booth!

Don't forget to hang it kid-height!  It's the detail most overlooked.
It looks super cool.  Here's her cousin in it:


#Bonus: Enlist willing helper in making the poster signs, too.

This is just paper from her art easel

#2 Make-Your-Own-Minion with a yellow balloon

How to fill that huge dreary space?
With fifty yellow balloons hung from the top!

Our very own minion army in-the-making. 

I put out poster paint but permanent markers may be better.  Especially if you're using another kind of paint in another activity - it prevents mixup.

#3 Kiddie Floor Painting.

Soooo much space!  I meant the floor.
The kids thought the wall.  Horror.
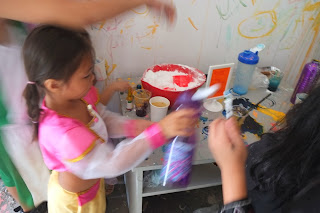
This activity takes the most preparation, more than I had anticipated.  We whizzed up a batch of cornstarch-and-food-coloring "paint" in the kitchen:

We put out lots of minion-yellow

But this goes fast.  I ended up having the kids make their own paint on-the-spot:


Win some, lose some.  Might have worked if we had more paint out and it was outside, where clearly "floor painting" meant floor painting.

So all this kept the kids busy until it was time for the program.  This time the willing helpers I enlisted were pros: My Masterpiece Movement.  Their stuff is original, intelligent and really catchy.  

The budget went willingly to them.

Anna and Rayyn Cortez of My Masterpiece Movement.  I like kiddie parties when they're around.
***

I felt like I totally squeaked by that party, but the kids had fun.
Sometimes I have to remind myself that kids can have fun without a lot of fanfare.


  post signature

Friday, 26 September 2014

Watercolor Art on Salt Tray

I must admit to a certain gigil with collecting art materials around our home.  When I was growing up, they were such a luxury!  Markers were expensive so I had hoarded away my one and only set and kept it unused until I found it years later all dried up.  Just like my interest in art.  

Today art materials are pretty accessible.  Which happily means that my little girl and I can experiment and explore art to our hearts' content.  Liquid watercolors are one such material.  Paired with an old favourite, the salt tray, it becomes a new favourite: sensorial art.


The photo above is our always-out-and-ready display of liquid watercolors on her art easel.  If you don't have liquid watercolors, a lot of food colouring drops mixed with water also works.

Here's how that whole thing was made : together! The idea is to set everything up first to look like an invitation to explore and any directions easy to show:

Liquid watercolor tubes from Daiso/88 Store; empty spare bottles, water to pour, pipettes for colour mixing, and paintbrushes for stirring. 

As much as it looks inviting to play with, to me this is "work".  A Montessori practice: preschoolers love to be empowered and feel like they are making meaningful contributions too (like a yuppie in a quarter-life crisis)!  And so I don't ask if she wants to play, I ask her help in my work.

"Mommy has to prepare some paint.  Would you like to help me?"

I tell her the steps, but she doesn't want a demonstration like a Montessori classroom would do.   For younger kids, it's best to demonstrate the whole thing first rather than teach step-by-step. 

Pour some water (not pictured).  Squeeze the colour tube into the jar.
Trusting children with normal household materials, like glass jars, is also encouraged in Montessori.  There's hardly any plastic in a Montessori classroom.  Even their drinking cups are glass.
Mix.  This is all excellent fine motor skills, which we need to work at.
For toddlers, this is great fine motor practice too.  Just adjust : you squeeze the tube ahead and have them pour a pre-measured amount of water into the glass.  Then mix!

The colour is so concentrated, we didn't even finish the whole tube
I let her test the colours out on watercolor paper for the best effect.  I love asking for art materials for her birthday or Christmas.  It's how we have that pricey paper around:

It's so vibrant that when the water in the bottles dry up, I just add more water or dilute when the water level goes low in the jars -- and it looks like fresh paint again.

We didn't have orange, so that's where the pipettes come in handy:

A color mixing lesson never gets old.
On to the art idea in this post!  Painting salt-over-glue designs with liquid watercolors is a popular idea that we tried that was 'just okay'.

Her finger strength wasn't up to drawing with a glue bottle so I made the design.

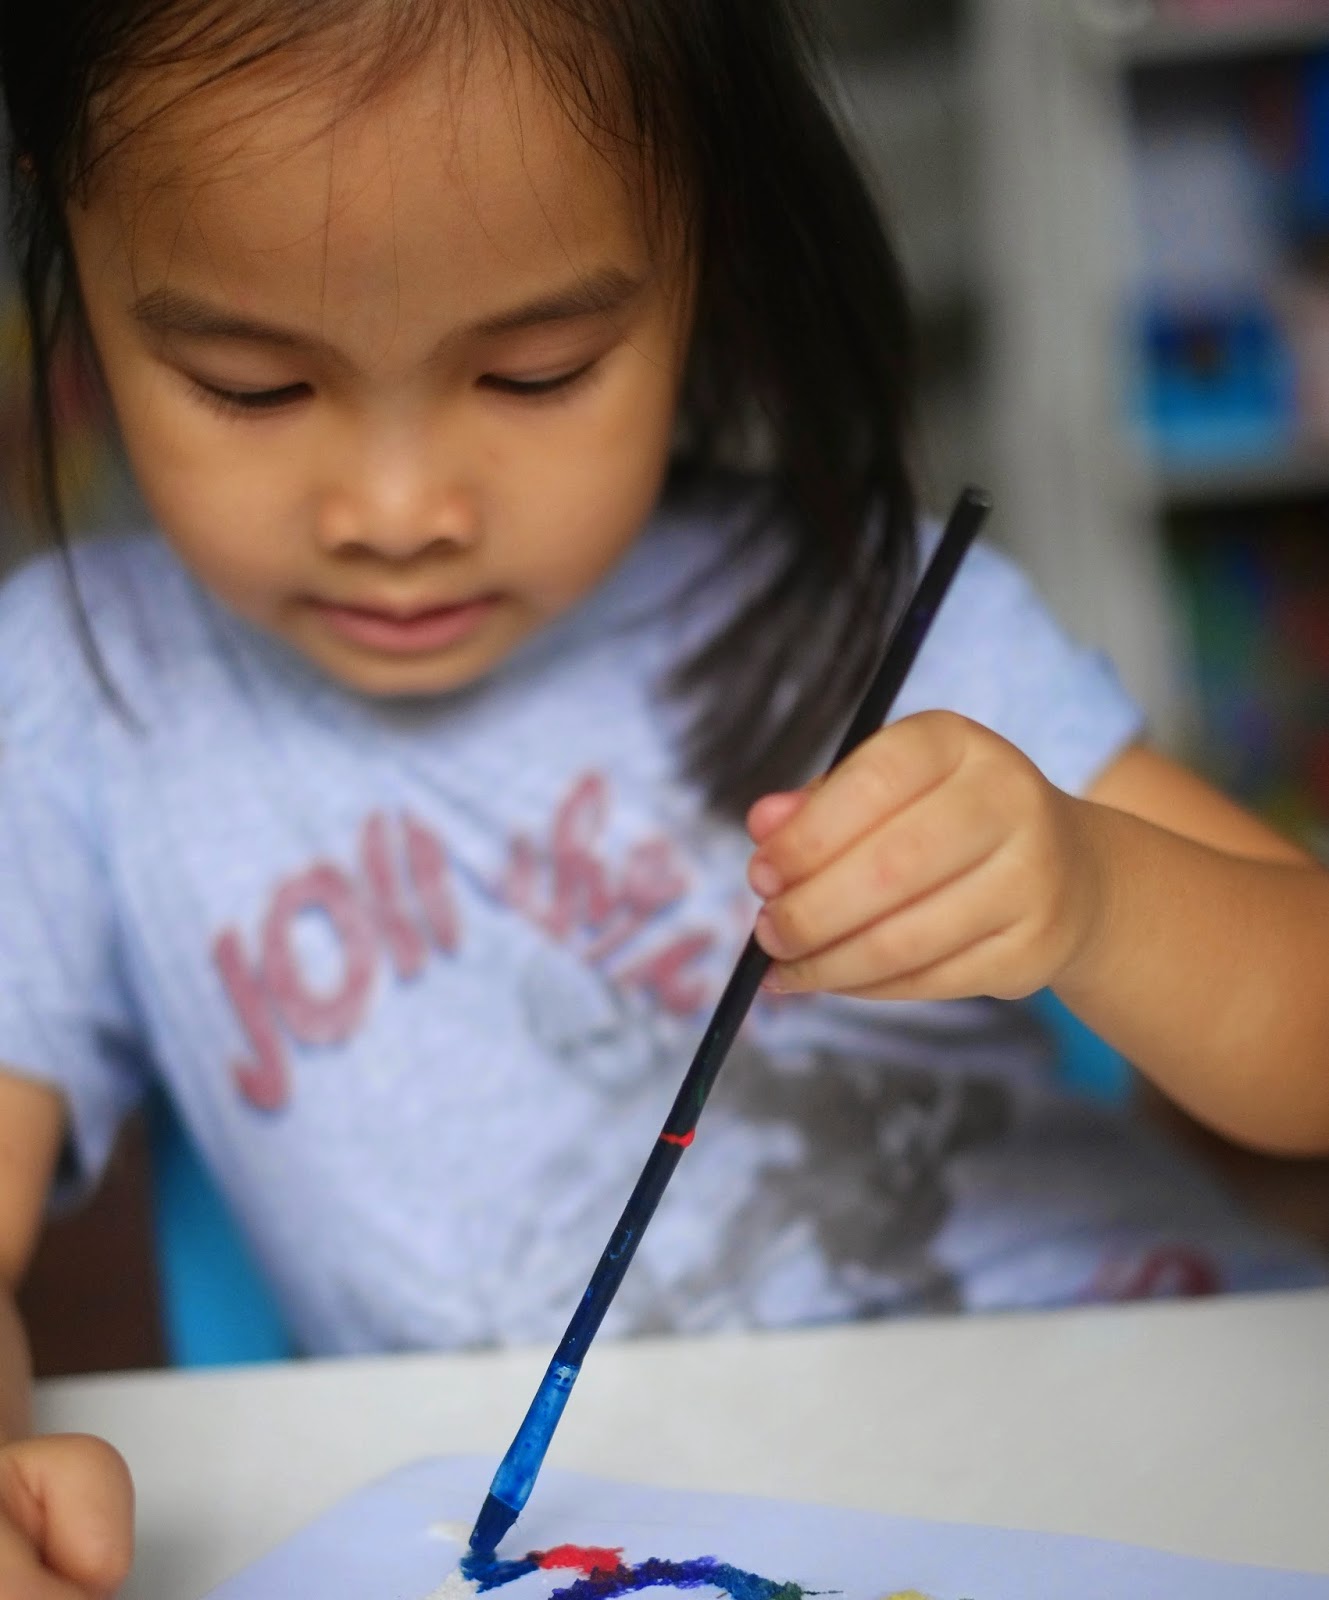
She is painting her name "drawn" with salt-over-glue.  The problem was that we left the salt-and-glue out for a week before we painted it, so sometimes the salt would come out when the paintbrush touched it.

I thought that a dropper would work better to spread the colour on the salt so I prepared this new invitation when we hosted her very first sleepover:

I poured salt on half of a "tray" (a plastic lid) as a guide for what do with the salt in those small cups on the left.

These cute droppers and pipettes are also from the Daiso/88 Store.
Do you get the idea?  You use the droppers and pipettes to drop some colour and watch it spread on the salt.  I had to explain this one, though.  It wasn't as intuitive an invitation as I hoped to leave-behind.  


The cousins each poured their cup of salt which interesting to feel (and taste).  I invited them to see what happens when they drop paint on the salt tray.  Ladybug Girl got started first since she's more used to these exploration activities and her cousin wasn't so interested yet.

Watch how salt absorbs and spreads the colour instantly.

Soon her cousin got into the action.  If you have a toddler, pre-fill the eyedroppers first : they'll love squeezing out the watercolor but will get frustrated if they work the dropper.


Ladybug Girl finished her art : a flower, she says.


And the girls proceeded to cover every inch of the salt tray in colour:


Later on I returned to the scene of the art attack and found this.  There's so much wonder in simple sensorial art materials that allow kids to explore:


Somebody got gigil too.  

post signature

Sunday, 21 September 2014

How Play Changed Us

It's hard to explain why an ordinary working mom like me has a blog that's mostly about playful parenting and child learning.  I have no education credentials to speak of, and I'd cringe if somebody called this a how-to-parent blog.

I do this because this is a testimonial to how play has changed our lives.  
Here is the backstory to why I write what I do.


Friday, 12 September 2014

Our No-Garden Play Space

I love our home, but one of the things I wish for is a garden for Ladybug Girl to play in.  I had to find some simple ways to carve out some nature space for play -- even with no garden!
I wasn't (am not) some Earth Mama or anything, but something told me that nature play was important for bringing up my child.  I myself didn't have nature spaces in my childhood but my papa was a big nature buff : he would go camping on the weekends and come home smelling like dirt and force us to hug him.  Too bad I only started longing for nature once I started working, chained to a grey office everyday.

Wednesday, 10 September 2014

Bring a Tray to Bathtime


With just the same materials we use for play time around here, it's really easy to think up new ways to keep using them.  In our case, it's just a tray that I put in the shower/makeshift tub area.  I love to do sensorial messy play in the bathroom because everything just washes down at the end of the bath.

A few weeks ago, Ladybug Girl went through a brief fascination with ice skating.  She saw a toy review and wanted an Elsa doll that could skate (someone teach me how to block toy channels on YouTube!).  Luckily this got it out of her system:

We dressed a doll in figure skater clothes (thank you, cousins, for this stash of dolls and clothes!), and I put a tray in the shower with some near-empty washable paint that I wanted to finish up.
 This was just all sorts of fun --
playing pretend, making art and feeling the sensory delight of paint with her hands.
Great play even for toddlers in the bath!

This next one is equally simple, if you don't mind using half a can of shaving foam:

The figures are from her Busy Book with the Frozen movie theme, which is in every bookstore right now

Wouldn't this be nice with some polar animals to learn about habitats? 

Truthfully I didn't need half a can of shaving foam - I was just having too much fun myself.  No further pictures than this because I joined in on this bath play.

But really, sometimes all you need is a tray among the usual toys and bath bubbles and that's enough.

It's an island... or maybe a boat? 
I think the best part is that ordinary things become magical when our kids get their hands on it.
Or maybe it's the fact that these only take three minutes to setup!


post signature