I must admit to a certain gigil with collecting art materials around our home. When I was growing up, they were such a luxury! Markers were expensive so I had hoarded away my one and only set and kept it unused until I found it years later all dried up. Just like my interest in art.
Today art materials are pretty accessible. Which happily means that my little girl and I can experiment and explore art to our hearts' content. Liquid watercolors are one such material. Paired with an old favourite, the salt tray, it becomes a new favourite: sensorial art.
The photo above is our always-out-and-ready display of liquid watercolors on her art easel. If you don't have liquid watercolors, a lot of food colouring drops mixed with water also works.
Here's how that whole thing was made : together! The idea is to set everything up first to look like an invitation to explore and any directions easy to show:
 |
| Liquid watercolor tubes from Daiso/88 Store; empty spare bottles, water to pour, pipettes for colour mixing, and paintbrushes for stirring. |
As much as it looks inviting to play with, to me this is "work". A Montessori practice: preschoolers love to be empowered and feel like they are making meaningful contributions too (like a yuppie in a quarter-life crisis)! And so I don't ask if she wants to play, I ask her help in my work.
 |
| "Mommy has to prepare some paint. Would you like to help me?" |
I tell her the steps, but she doesn't want a demonstration like a Montessori classroom would do. For younger kids, it's best to demonstrate the whole thing first rather than teach step-by-step.
 |
| Mix. This is all excellent fine motor skills, which we need to work at. |
 |
| The colour is so concentrated, we didn't even finish the whole tube |
 |
| It's so vibrant that when the water in the bottles dry up, I just add more water or dilute when the water level goes low in the jars -- and it looks like fresh paint again. |
We didn't have orange, so that's where the pipettes come in handy:
 |
| A color mixing lesson never gets old. |
 |
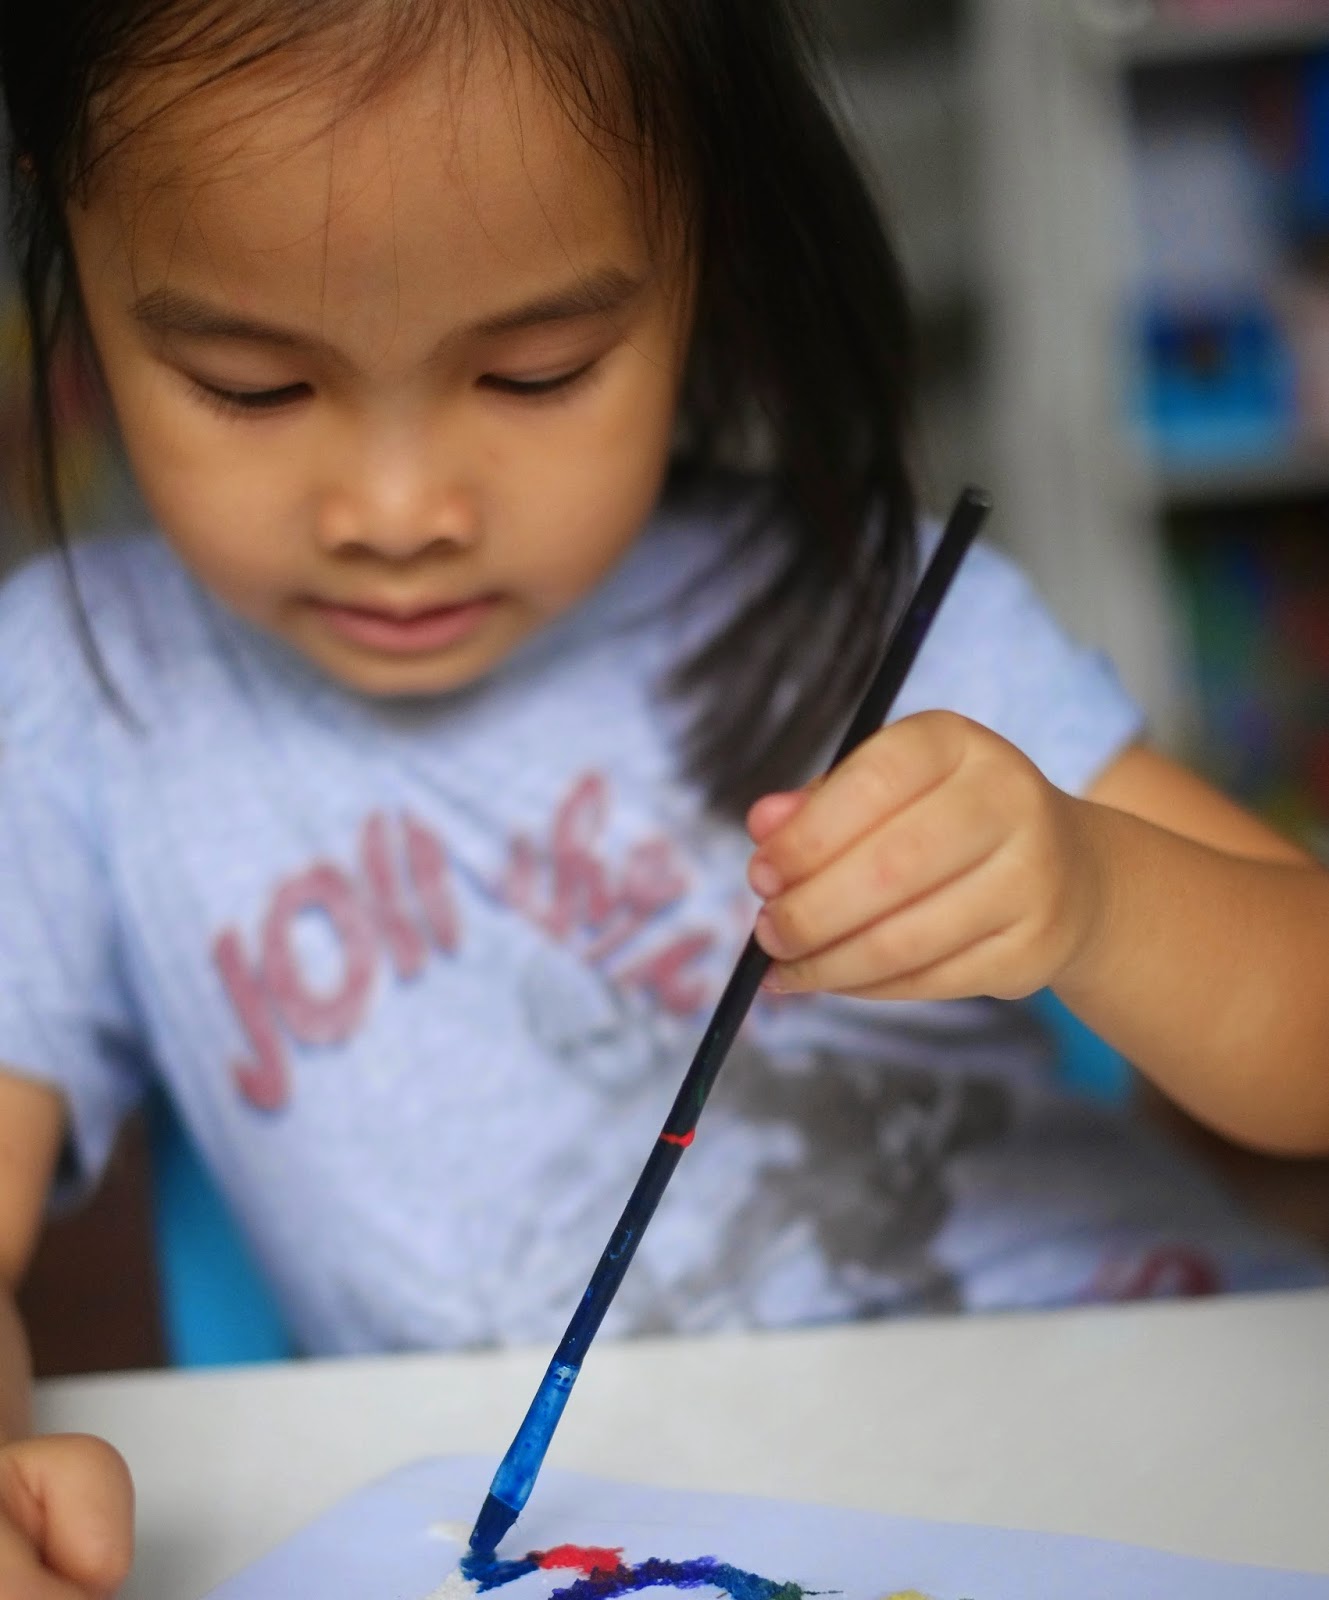
| Her finger strength wasn't up to drawing with a glue bottle so I made the design. |
I thought that a dropper would work better to spread the colour on the salt so I prepared this new invitation when we hosted her very first sleepover:
 |
| I poured salt on half of a "tray" (a plastic lid) as a guide for what do with the salt in those small cups on the left. |
 |
| These cute droppers and pipettes are also from the Daiso/88 Store. |
The cousins each poured their cup of salt which interesting to feel (and taste). I invited them to see what happens when they drop paint on the salt tray. Ladybug Girl got started first since she's more used to these exploration activities and her cousin wasn't so interested yet.
 |
| Watch how salt absorbs and spreads the colour instantly. |
Soon her cousin got into the action. If you have a toddler, pre-fill the eyedroppers first : they'll love squeezing out the watercolor but will get frustrated if they work the dropper.
Ladybug Girl finished her art : a flower, she says.
And the girls proceeded to cover every inch of the salt tray in colour:
Later on I returned to the scene of the art attack and found this. There's so much wonder in simple sensorial art materials that allow kids to explore:
Somebody got gigil too.


No comments:
Post a Comment
Feel free to comment, with good intent!